For many photographers, Studio Photography is a preferred style, offering full control over the lighting, background, and posing of the subject. However, posing people for studio photography can be challenging, especially for new photographers or those who lack experience with portrait photography.
In this blog post, we’ll cover the essential tips and techniques for posing people in a studio setting, including the different types of shots and what they’re best for, the best lenses to use, and how to keep your subjects relaxed and comfortable.
Whether you’re a seasoned pro or just starting in photography, this post will provide you with the knowledge and skills you need to capture stunning images in a studio setting.
Types of Shots:
There are several types of shots you can take in a photography studio. Here are some of the most common:
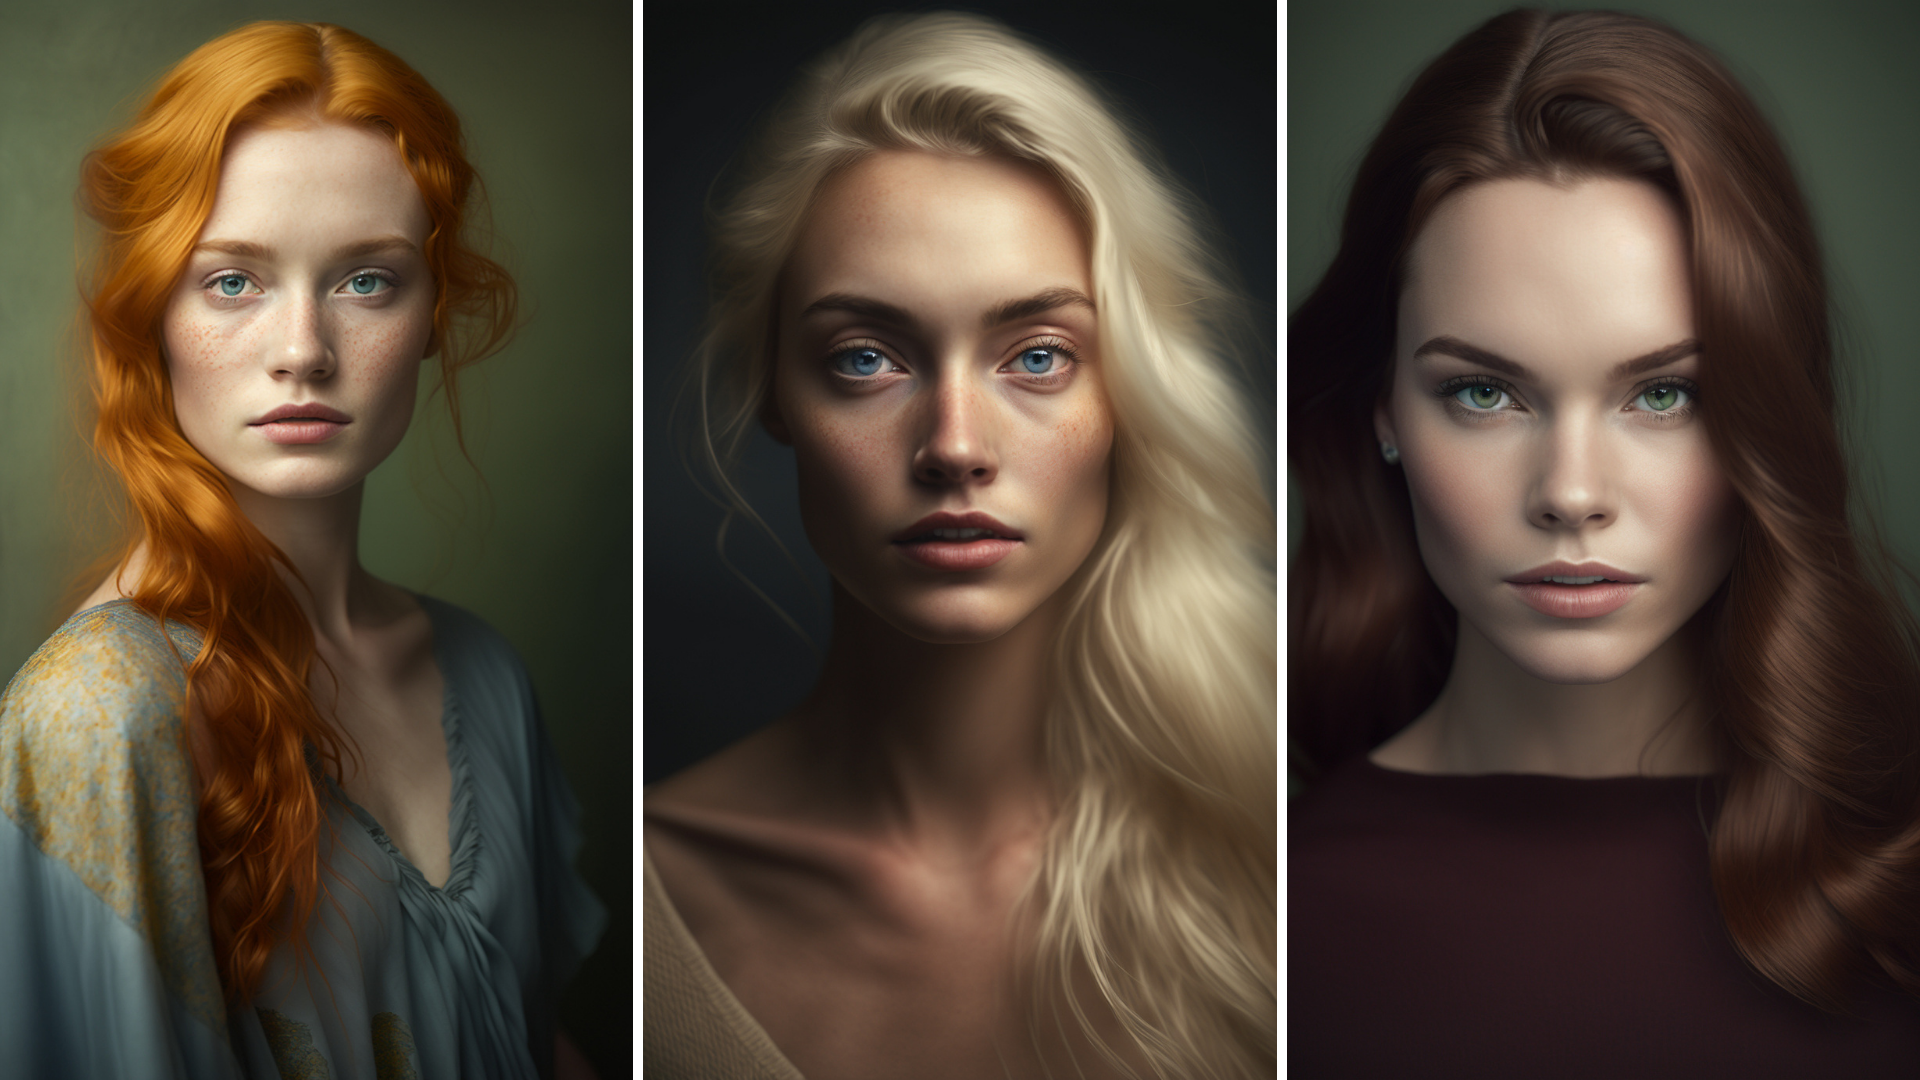
Headshots:
These are close-up shots of the subject’s face, often used for professional portraits or casting calls.
When it comes to posing for headshots, there are a few key considerations to keep in mind. First and foremost, you want to ensure that the subject is positioned in a way that highlights their best features and minimizes any potential flaws. This can include things like tilting the head slightly, angling the face towards or away from the camera, or positioning the subject in a way that creates a more flattering profile.
Lighting is also a crucial factor in creating a great headshot. In most cases, you’ll want to use a soft, diffused light source that creates a gentle, even illumination across the face. This helps to minimize harsh shadows and brings out the subject’s natural features.
3/4 shots:
In portrait photography, a 3/4 shot typically shows the subject from the top of their head to around their waist or hips. This composition works well because it allows for a more intimate and engaging portrait while also providing context to the subject’s surroundings.
The 3/4 shot is a great way to showcase the subject’s personality, style, and attitude. It also works well for full-body shots when the subject is sitting or standing, making it ideal for fashion, editorial, and lifestyle photography.
This composition can be used in a variety of settings, from studio portraits to outdoor environmental portraits, and can be particularly effective in capturing the subject’s natural movements and expressions.
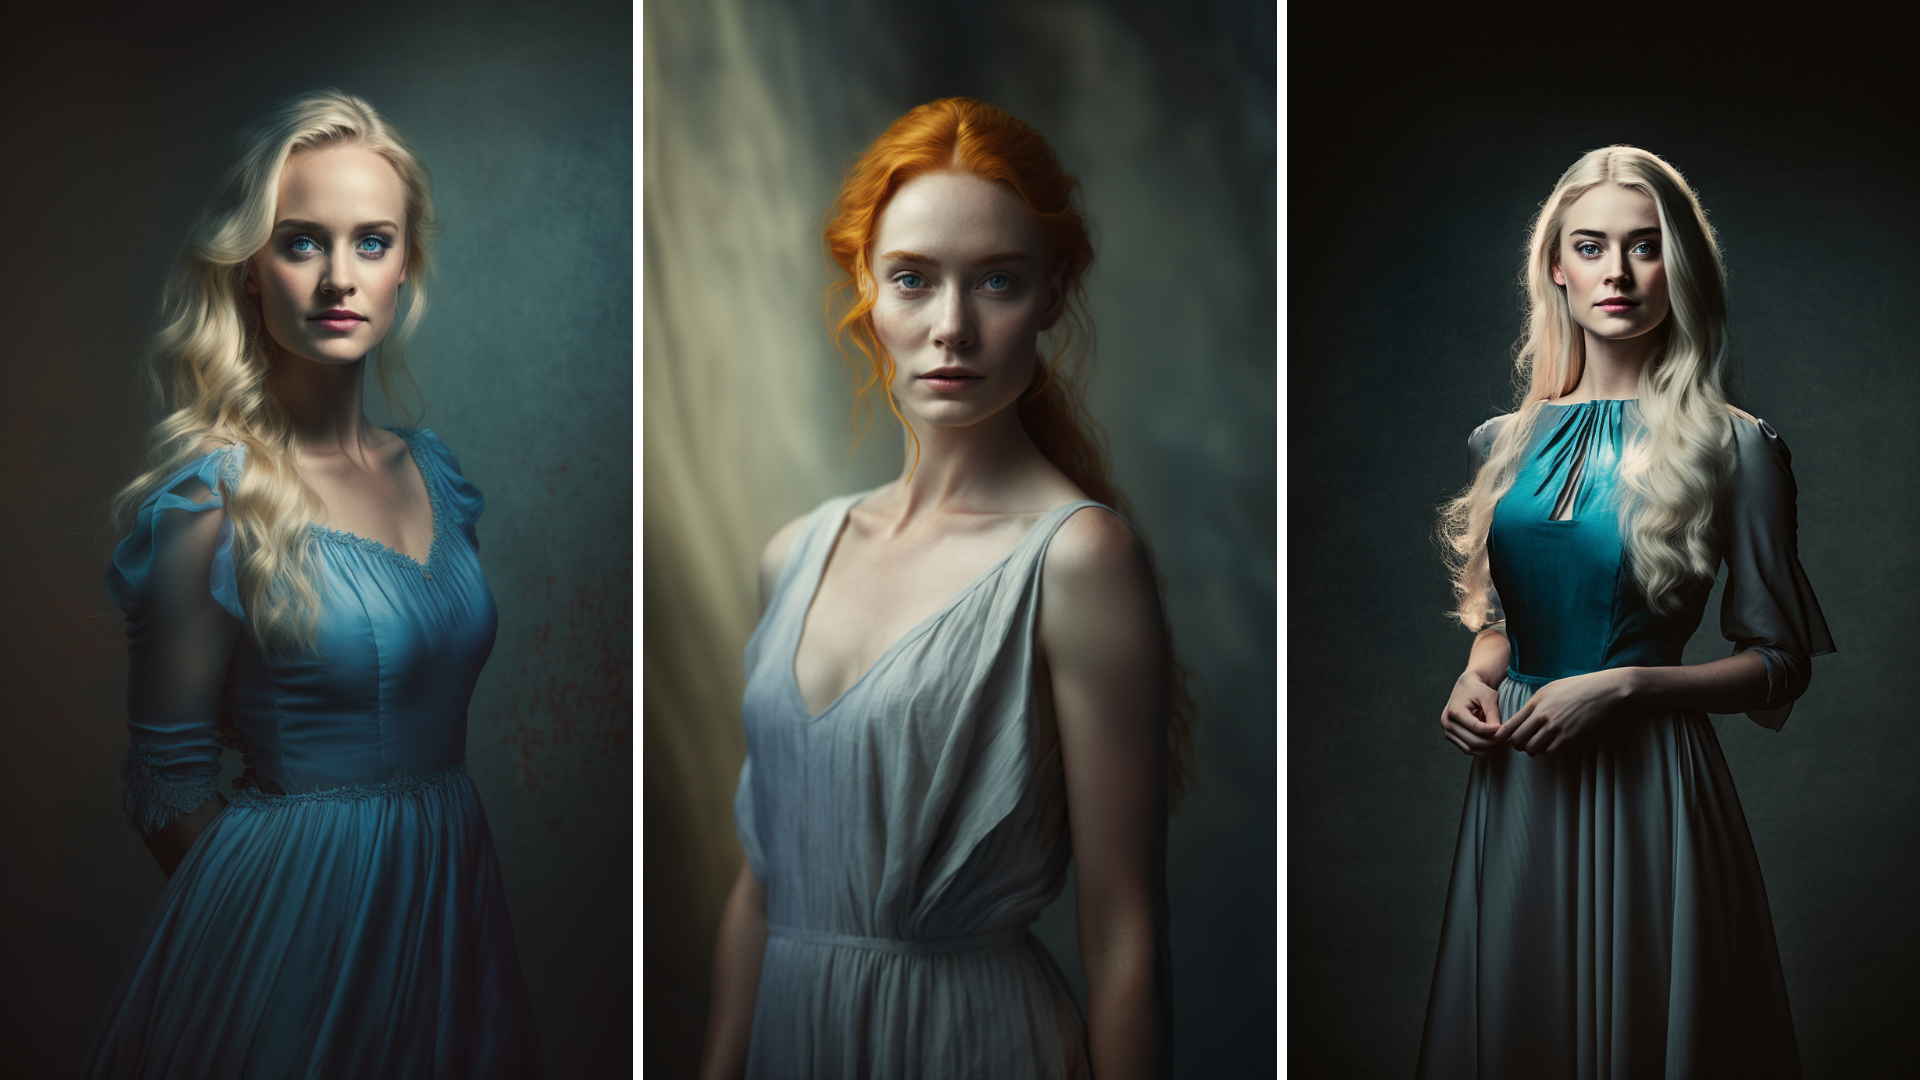
Full-body shots:
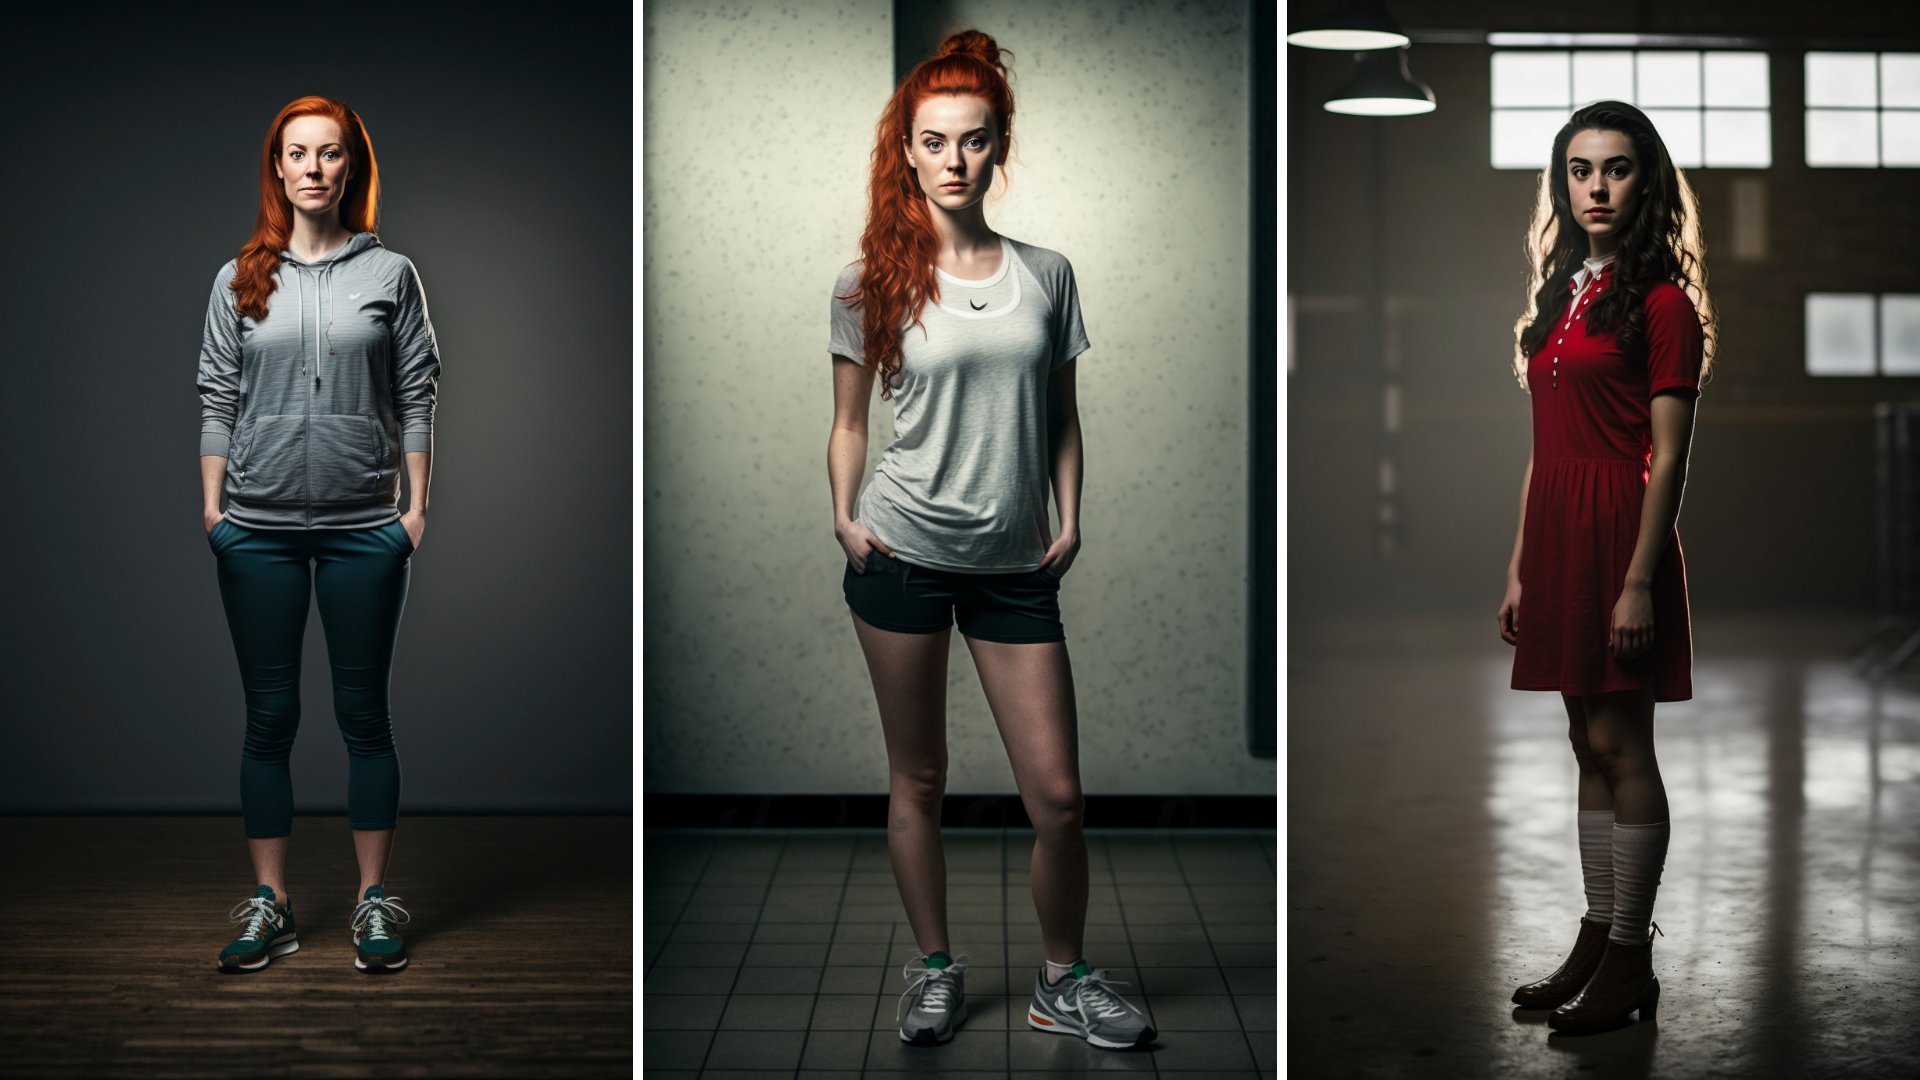
These shots capture the entire body of the subject and can be used for modeling or fashion photography.
Full body shots are another popular type of studio photography shot that captures the entire subject’s body from head to toe. These shots can be used for various purposes, such as modeling portfolios, fashion photography, or fitness photography.
When it comes to posing for full body shots, the key is to create a dynamic and engaging pose that flatters the subject’s body shape. Some popular techniques include creating diagonal lines with the body or using negative space to draw attention to the subject.
It’s also essential to pay attention to the subject’s posture and body language, ensuring they look natural and relaxed in the shot.
Additionally, the choice of lens can affect the look of a full body shot, with wider lenses creating a more expansive look and longer lenses compressing the image. With these techniques and considerations in mind, you can create stunning full body shots that capture your subject’s essence and beauty.
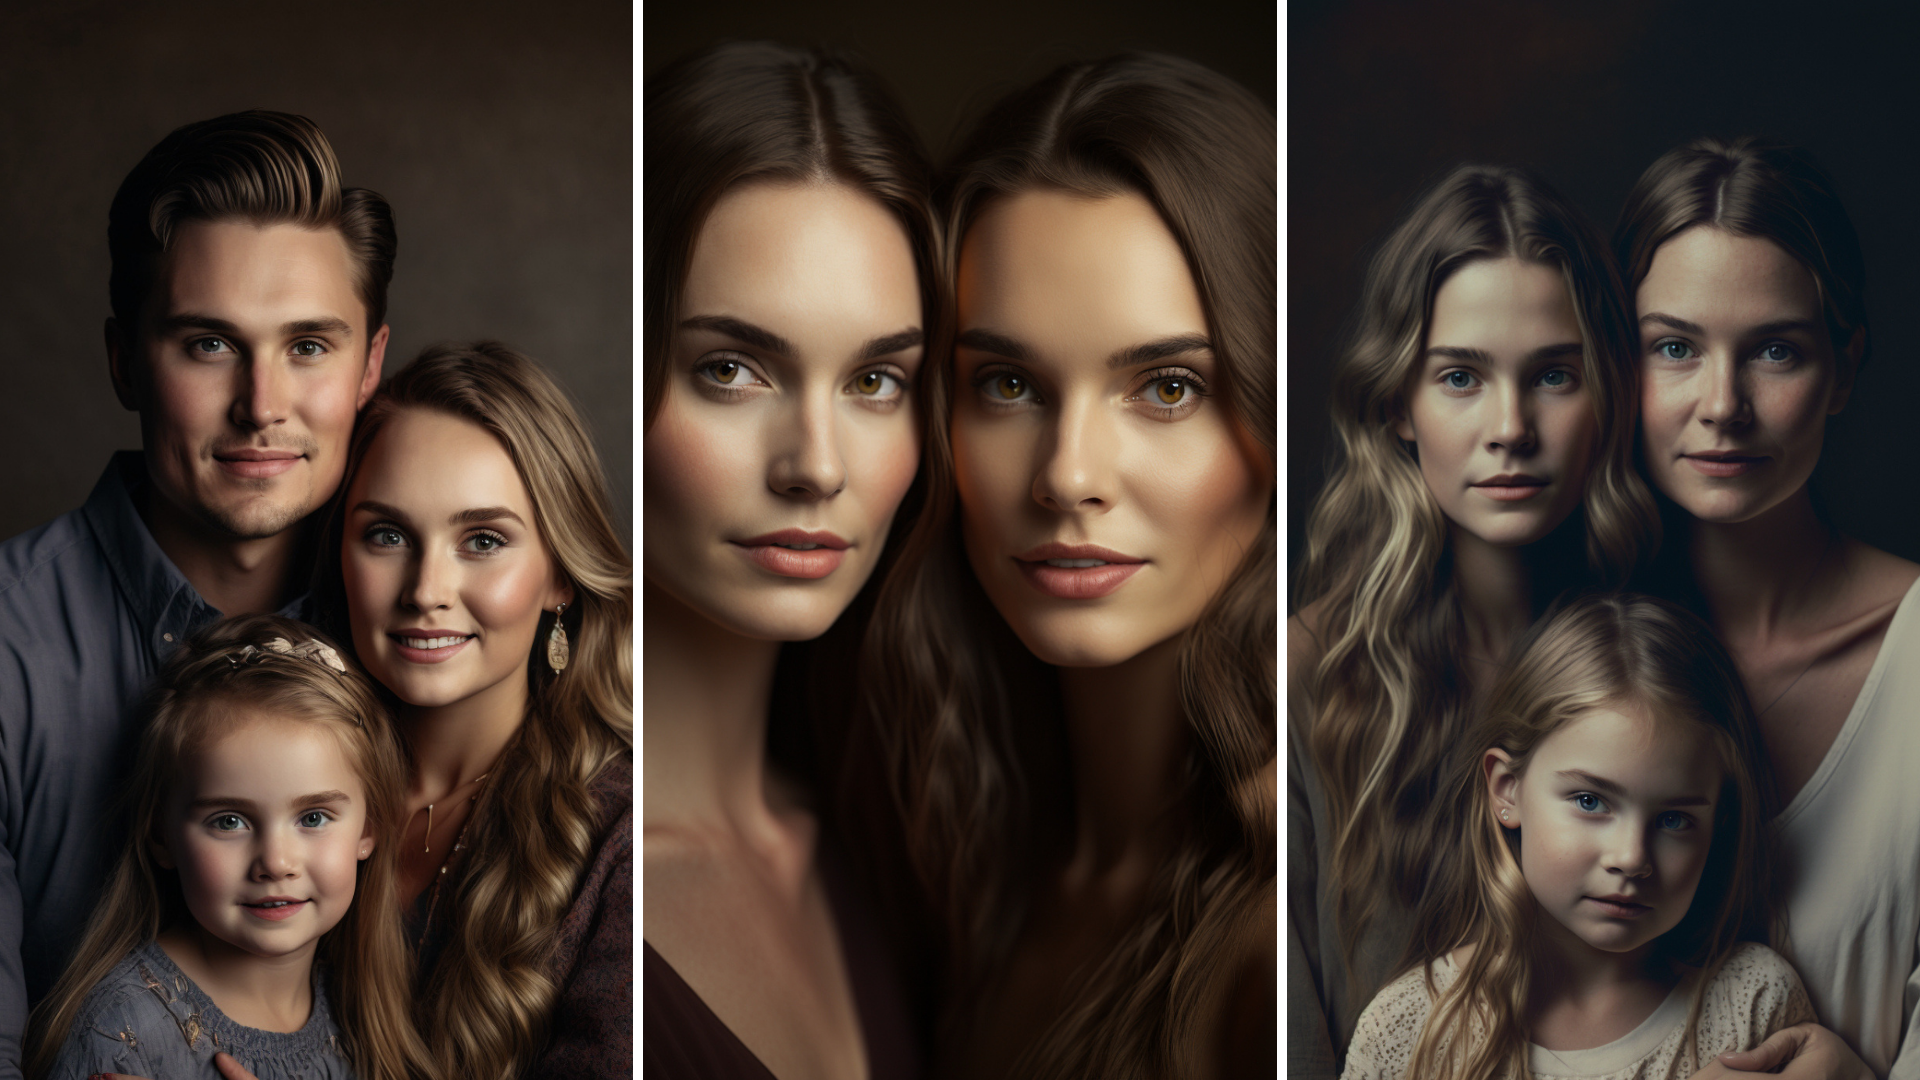
Group shots:
These shots feature two or more people in the same frame, often used for family portraits or corporate headshots.
Group shots are a common request in studio photography, whether for family portraits, corporate team photos, or other group events. Posing multiple people can be challenging, as you need to ensure that everyone looks good and engaged in the shot. One crucial technique is to create a sense of connection between the subjects, whether through physical contact or eye contact.
You can also experiment with different poses and arrangements to find what works best for the group, such as having them sit, stand, or lean against each other. It’s also essential to pay attention to the composition, ensuring that the subjects are positioned in a way that creates balance and symmetry in the shot.
With some practice and patience, you can create beautiful and engaging group shots that capture the unique relationships and personalities within the group.
Candid shots:
These are more casual shots that capture the subject in a relaxed, natural pose.
Candid shots are a type of studio photography that captures natural and unposed moments. These shots can be used to capture authentic moments between people or to create a sense of movement and spontaneity in the shot. To capture candid shots, it’s important to create a comfortable and relaxed environment for the subject, allowing them to be themselves and express their personality freely.
You can also use various techniques to encourage candid moments, such as asking the subject to move around, interact with the environment, or engage in a fun activity.
It’s also important to pay attention to the lighting and composition, ensuring that the shot looks visually engaging and appealing. With candid shots, you can create beautiful and memorable images that capture the essence and personality of your subjects.
Lenses:
When it comes to choosing the right lens for your shots, it depends on the type of shot you’re taking. For headshots, a 50mm or 85mm lens is ideal. These lenses create a shallow depth of field and allow you to capture sharp, detailed images of your subject’s face.
For full-body shots, a 24-70mm lens is a great choice. It allows you to zoom in and out to capture different angles and perspectives.
For group shots, a wider-angle lens like a 16-35mm lens is ideal. It allows you to capture everyone in the frame without having to step back too far.
Relaxing Your Subjects:
Posing for a photo shoot can be intimidating for some people, which is why it’s important to make your subjects feel relaxed and comfortable.
Here are a few tips:
Start with easy poses: Start with poses that are easy to execute and build up to more challenging poses. This helps build confidence and makes the subject feel more at ease.
Use props: Props can be a great way to add interest to your shots and give your subjects something to focus on other than the camera. It can also help them relax and feel more comfortable.
Give direction: Give clear and concise directions on how to pose. Don’t be afraid to show your subjects what you mean by demonstrating the pose yourself.
Chat with your subjects: Engage your subjects in conversation to help them relax and open up. This will also help you capture more natural and candid shots.
Posing people for photography studio shoots is a skill that takes time and practice to master. Understanding the different types of shots, the best lenses to use, and how to keep your subjects relaxed and comfortable will help you capture stunning images that you and your subjects will love.
Also, if you enjoyed this post and want to stay up to date with the latest photography tips and techniques, be sure to join my mailing list. By subscribing, you’ll receive regular updates on new blog posts, as well as exclusive content and special offers.
Thank you for reading, and I look forward to hearing from you soon!
P.S.Please click “like” or provide a comment if you enjoyed this blog, this will motivate me to publish more. Share and inspire. Thanks




Leave A Comment